How to Apply Textures to 3D Models in Blender
Applying textures is a key step in adding realism and detail to 3D models. Whether you’re working on game development, animation, or virtual reality scene design, the right texture can bring a model to life. However, for many 3D designers, figuring out how to apply textures to 3D models in Blender remains a challenging task. Blender, being a powerful open-source software, offers a wide range of tools and features, but the complexity of its interface often leaves users unsure of how to effectively apply textures. In this article, I’ll share some practical tips and methods for applying textures to 3D models in Blender, based on my own experience, to help you streamline the process and achieve better results.

1. Preparing Texture Assets
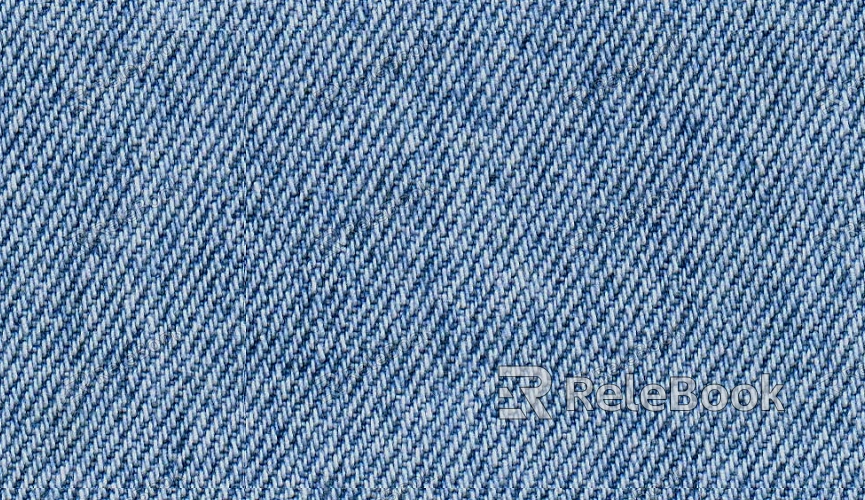
Before applying textures to your 3D model, the first step is to gather the right texture assets. Textures can be sourced in several ways:
Online Resources: There are numerous websites that offer both free and paid high-quality textures. Sites like Textures.com, Poliigon, and AmbientCG provide a wide variety of textures that you can directly download and use in your projects.
Custom Textures: If you need more personalized textures, you can create them yourself by photographing real-world surfaces or using image editing software like Photoshop to design textures. This ensures that the textures fit your specific design needs.
When preparing textures, it’s important to consider their resolution. A texture with too high a resolution can unnecessarily consume system resources, while a texture with too low a resolution can negatively impact the clarity of your render.
2. UV Unwrapping
UV unwrapping is the process of converting a 3D model’s surface into a 2D plane. This step is essential before applying textures in Blender. To unwrap the UVs, follow these steps:
Enter Edit Mode: First, select the 3D model you wish to texture, then enter Edit Mode by pressing the Tab key.
Select Faces and Unwrap: In Edit Mode, select the faces you want to unwrap, then press “U” to bring up the UV unwrapping options. The most common method is "Unwrap," which allows Blender to automatically generate an appropriate UV layout for the model.
Optimize UV Layout: To avoid texture stretching or misalignment, adjust the UV layout so that each face is evenly distributed across the texture. This ensures that the texture maps correctly onto the model.
The result of this process is a UV map, which serves as the foundation for applying textures to the 3D model.
3. Creating Materials and Applying Textures
In Blender, materials and textures are managed through the node system. Here’s how to create a material and apply a texture to your model:
Create a New Material: In the "Materials" panel, click the "New" button to create a new material. At this stage, you can set basic material properties such as color, reflection, and more.
Load the Texture: In the material’s "Base Color" or other relevant attributes, click on the texture box and either select or import the texture you’ve prepared. The texture will then be mapped onto the model.
Adjust Texture Settings: You can further adjust the texture properties. For example, you might use "Specularity" and "Roughness" to control how shiny or detailed the surface appears.
Blender provides a powerful node editor, where you can fine-tune the texture’s appearance by using the "Shader Editor" in the "Shading" workspace.

4. Adjusting Texture and Material Properties
After applying the texture, the next step is to fine-tune the texture and material properties to achieve more realistic physical characteristics.
Normal Map: Normal maps simulate surface details such as bumps or wrinkles without adding additional polygons. In Blender, you can add a normal map to the material by using the "Normal Map" node, which enhances lighting and reflection effects.
Roughness Map: Roughness maps control the smoothness of a surface. Metal materials generally require low roughness, while materials like wood or fabric need higher roughness values.
Ambient Occlusion (AO) Map: AO maps simulate the interaction between light and shadow, adding depth to textures and making them look more three-dimensional.
By adjusting these maps, you can make your textures appear more realistic and enhance the visual appeal of the entire model.
5. Optimizing UV Mapping
Sometimes, after applying textures, you may encounter issues such as texture misalignment, stretching, or overlapping. Here’s how to fix these problems:
Adjust UV Layout: In the UV Editing workspace, select the part of the UV map that needs adjustment. Move, scale, or rotate the UV faces to ensure they align correctly with the texture.
Re-Unwrap UVs: If the texture misalignment is too severe, you may need to re-unwrap the UVs and optimize the layout to ensure all faces are aligned properly with the texture.
6. Rendering and Debugging Texture Effects
Once the textures are applied and material settings adjusted, the final step is to render your model and inspect the texture’s appearance in the final scene. In Blender, you can choose between two rendering engines:
Cycles: This engine is suitable for high-quality rendering and showcases textures and lighting in great detail.
Eevee: Eevee is ideal for real-time rendering. Although the results are not as refined as Cycles, Eevee is much faster and more efficient for quick renders.
By rendering your scene, you can check how the lighting interacts with your textures and adjust the settings if anything appears unnatural or off.
Applying textures to 3D models in Blender requires patience and skill, involving several steps from preparing texture assets and UV unwrapping to texture application and final rendering. I hope this article has helped you gain a better understanding of how to streamline these processes, enhance your texturing techniques, and make your 3D models more realistic and engaging.
If you’re looking for high-quality 3D texture resources, SketchUp models, or 3ds Max models to create stunning models and virtual scenes, check out Relebook. There, you’ll find a wide variety of assets to help bring your projects to life.

